
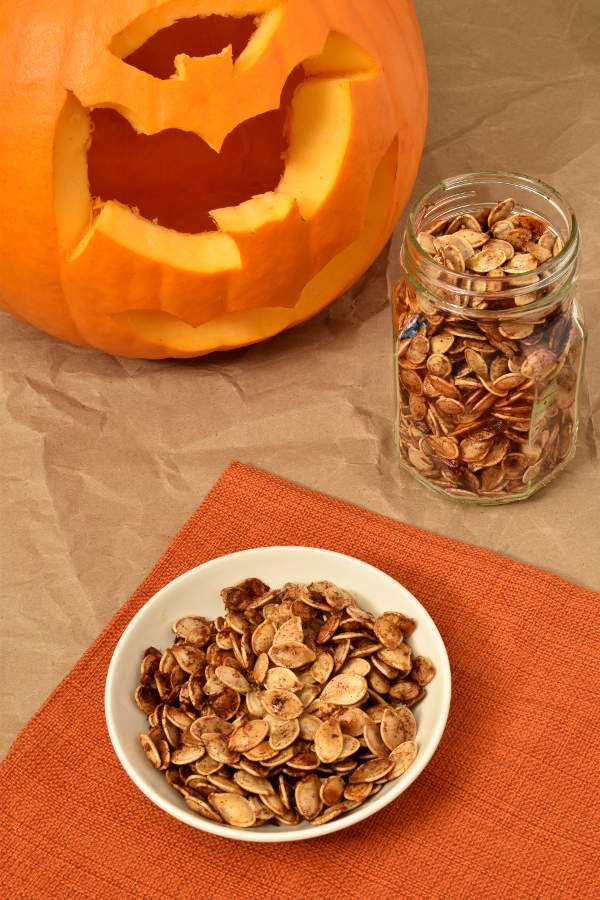
Carving a pumpkin for Halloween? Don’t throw out the seeds. Roast them with maple and cinnamon for a sweet and crunchy healthy snack.
Have you guys bought Halloween candy yet? As a kid I loved getting dressed up for Halloween and trick-or-treating. I had some awesome costumes, most of which my mom made or helped me make, as I got older. I think my favorite one was my Pocahontas dress.
Since I moved to Boston for college, I was living in the college dorms and then in an apartment in the city. There were no trick-or-treaters there. Last year was my first Halloween living in the suburbs with Jonathan, and I was so excited for kids to come trick-or-treat at our house. I bought three bags of candy. We carved two jack-o-lanterns and lit them up on our front porch. We turned on every light in the house. I even took the day off work so I would be home for the earlier trick-or-treaters.
All of five kids showed up. I was so disappointed. Maybe it’s the area where I live, but it seems like kids don’t trick-or-treat as much as they did when I was young.
This year maybe I will buy the extra dark chocolate, so if we don’t get enough trick-or-treaters, at least I’ll be more enthusiastic about eating the leftover candy.
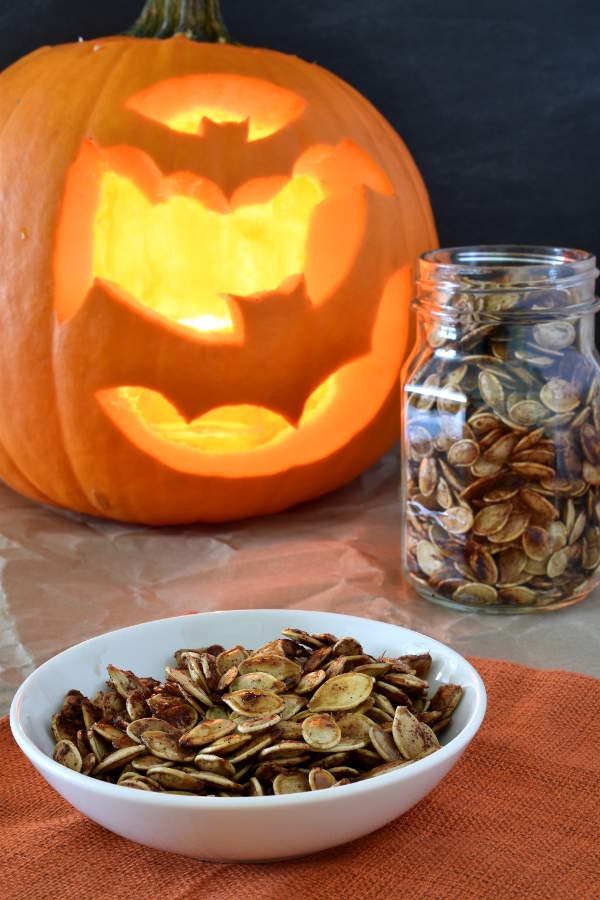
But I’m still getting into the Halloween spirit. Jonathan and I carved a pumpkin together last weekend. There were a couple mishaps, like in the first pumpkin where I cut the hole on the top too small and then could barely fit my hand inside to scrape out the seeds, but we had fun. We used this bat stencil from Real Simple. I chose it because I think bats are cool and kind of cute, like owls. I’ve never seen them as creepy.
For the next few nights, we kept our pumpkin at the table and lit a candle in it before dinner. Romantic, huh?
By the way, one of those jack-o-lantern-lit dinners was this recipe, which I really recommend while there’s still fresh apple cider in stores.
Every year after pumpkin carving, I roast the seeds. I know roasting pumpkin seeds isn’t rocket science, but I wanted to share the recipe because I’ve been enjoying snacking on these. One thing I found really makes a difference is when you boil the seeds before baking them. They end up a little less chewy than when you simply bake the seeds raw. I also like them with a sweet twist, so I’m sharing a maple cinnamon version.
I measured 2 ¼ cups of seeds from the two medium-sized pumpkins we carved. If you have more or less, you can scale the recipe. If you are making more, just use another sheet pan. The seeds won’t dry out if the pan is too crowded.
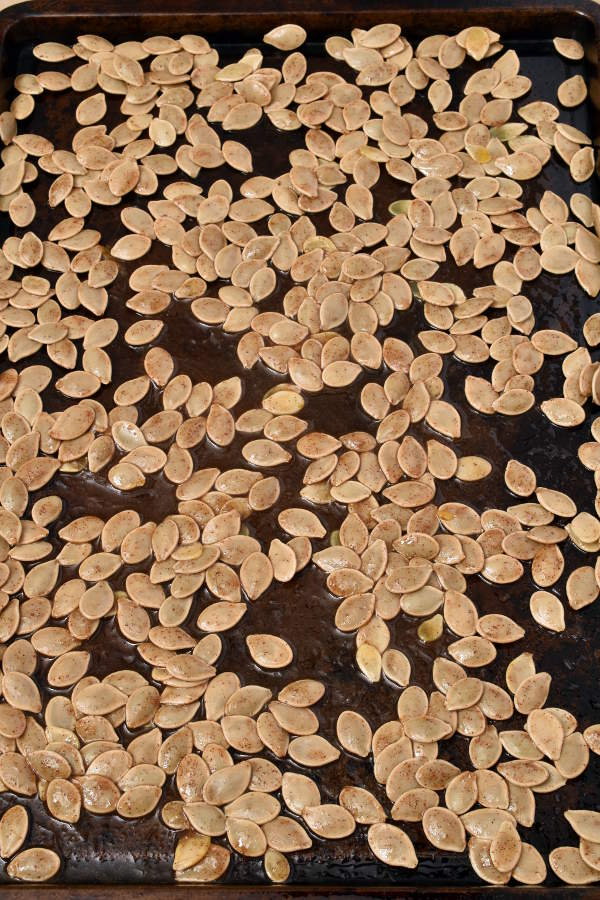
At the starting point of the recipe, you want your seeds to look like this:
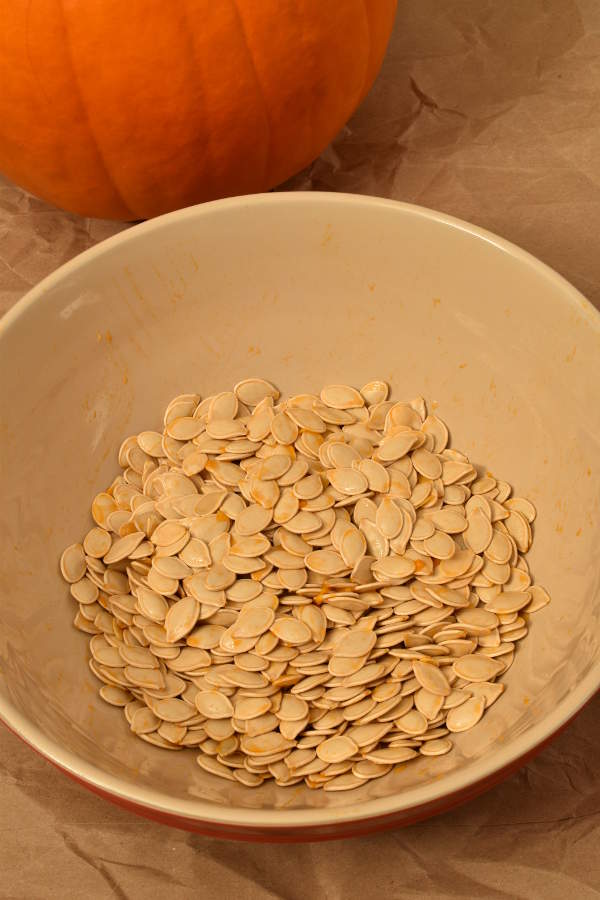
It’s okay if there’s a little orange stuff stuck to them, like in the photo, but you want to get most of it off.
Here they are ready to be baked. Notice how they’re mostly in a single layer.
And 20 minutes later:
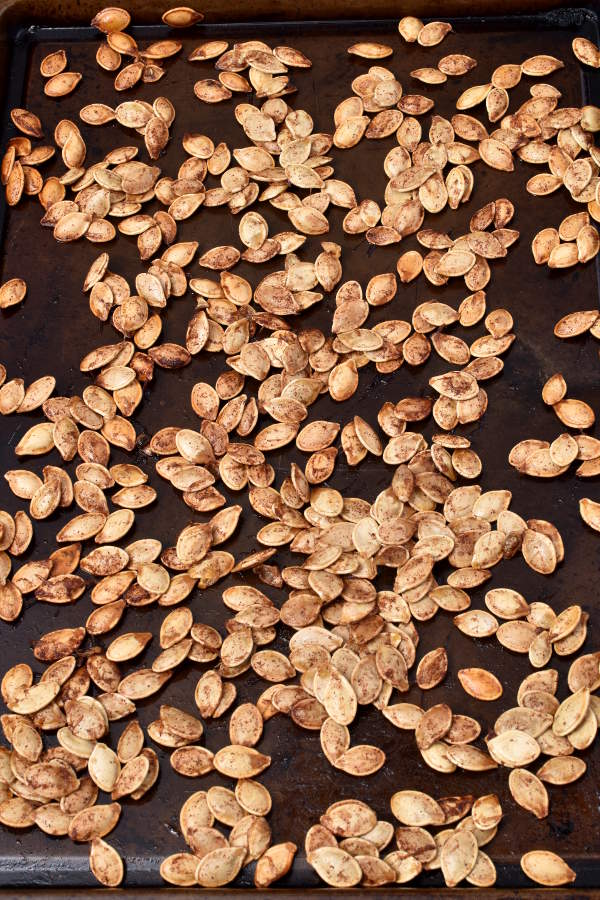
You can start snacking as soon as they’re cool enough to pick up, but let the seeds cool completely before storing.
Maple Cinnamon Roasted Pumpkin Seeds
Ingredients
- 2 1/4 cup pumpkin seeds (from 2 medium sized pumpkins)
- 2 tablespoons coconut oil, melted
- 2 tablespoons maple syrup
- 1 teaspoon cinnamon
- 1/2 teaspoon kosher salt
Instructions
- Preheat oven to 325 degrees. Spray 2 sheet pans with cooking oil spray and set aside.
- Bring a large pot of salted water to a boil over high heat. Add pumpkin seeds and boil for 10 minutes. While you're waiting, mix coconut oil, maple syrup, cinnamon, and salt together in a small bowl.
- Drain pumpkin seeds. Then return to pot and toss with the coconut oil mixture. Spread seeds out on 2 prepared pans. Try to get seeds mostly in a single layer.
- Bake for 10 minutes. Remove pans from oven and stir seeds, then spread them back out to a single layer. Bake 10 more minutes, until seeds are golden brown. Keep an eye the last few minutes to make sure they don’t burn.
- Let cool completely, then store in an airtight container.
Recipe Notes
Pumpkin seeds will keep in an airtight container for up to a month.
Bon Appétit!
Hi Tara! The pumpkin seeds came out great! I didn’t have any coconut oil on hand, so I just used some canola oil (although I’m sure the coconut would have been better). I did have to leave the seeds in for about 15 extra minutes. They are really delicious. This was the perfect fall snack! We love your blog!!
Aw, thanks for the kind comment Ramona! Not sure why they took longer, but I’m glad you enjoyed them!
Just pulled up this recipe so I can make these again this year!
So happy to hear that!